American Decals
Wall Decal Border Caroline Roses Watercolor Flowers
Wall Decal Border Caroline Roses Watercolor Flowers
Couldn't load pickup availability
Share
HOW TO ORDER
HOW TO ORDER
Select SIZE: Measure your wall. Select the size that will fit within your wall WIDTH.
Select MATERIAL: Read Below for a description of each material. Click here to See DETAILS about each material.
HOW TO CONVERT INCHES TO FEET: Divide Inches by 12. Example: 156 inches equals to 13 feet.
HOW TO CONVERT INCHES TO CENTIMITERS: Multiply the number of inches to 2.54 cm. Example: 156 inches equals to 396 cm or 3.56 meters. (Or type on google: convert inches to centimeters) or use THIS TOOL
MATERIALS
MATERIALS
DURAVINYL DECALS
PROS: These are thin decals with very bright colors and they are smooth with minimal luster. These decals will look like painted on your wall. Will last +5 years on your wall (they might last longer but we do not recommend leaving them longer than 5 years) Durable Vinyl will stick to walls painted with Glidden Essentials Flat or Eggshell, Sherwin Williams Duration Flat or Satin, Dutch Boy Flat interior paint, BEHR Scuff Defense.
CONS: They cannot be repositioned. Do not work with BEHR Marquee, VALSPAR, Paramount, Benjamin Moore, PPG Dunn Edwards and more. We have seen how decals fall off the wall if you try to apply them to walls painted with these brands. Select STICKYFabric if you have these brands. If recently painted your walls, wait 8 weeks before applying your decals.
FABRIC DECALS
PROS: Thin material and bright colors. It will look as if it was panted on your wall. Removable Medium Tack Adhesive that can also be re-positioned many times from wall to wall. It is durable and it won't rip easy because it is polyester fabric. It has a canvas-like texture and it is matte producing bright colors that will make it look like painted on your wall. This material could be better for textured walls because it is thicker than vinyl and can hid the texture better. However, if there are many "peaks" on your textured wall, no material will have enough surface to hold on to which might prompt the decal to fall off the wall or be punctured by the sharp peaks on the texture.
CONS: It is slightly thicker material than vinyl. It has a higher price than Vinyl. If recently painted your walls, wait 8 weeks before applying your decals.
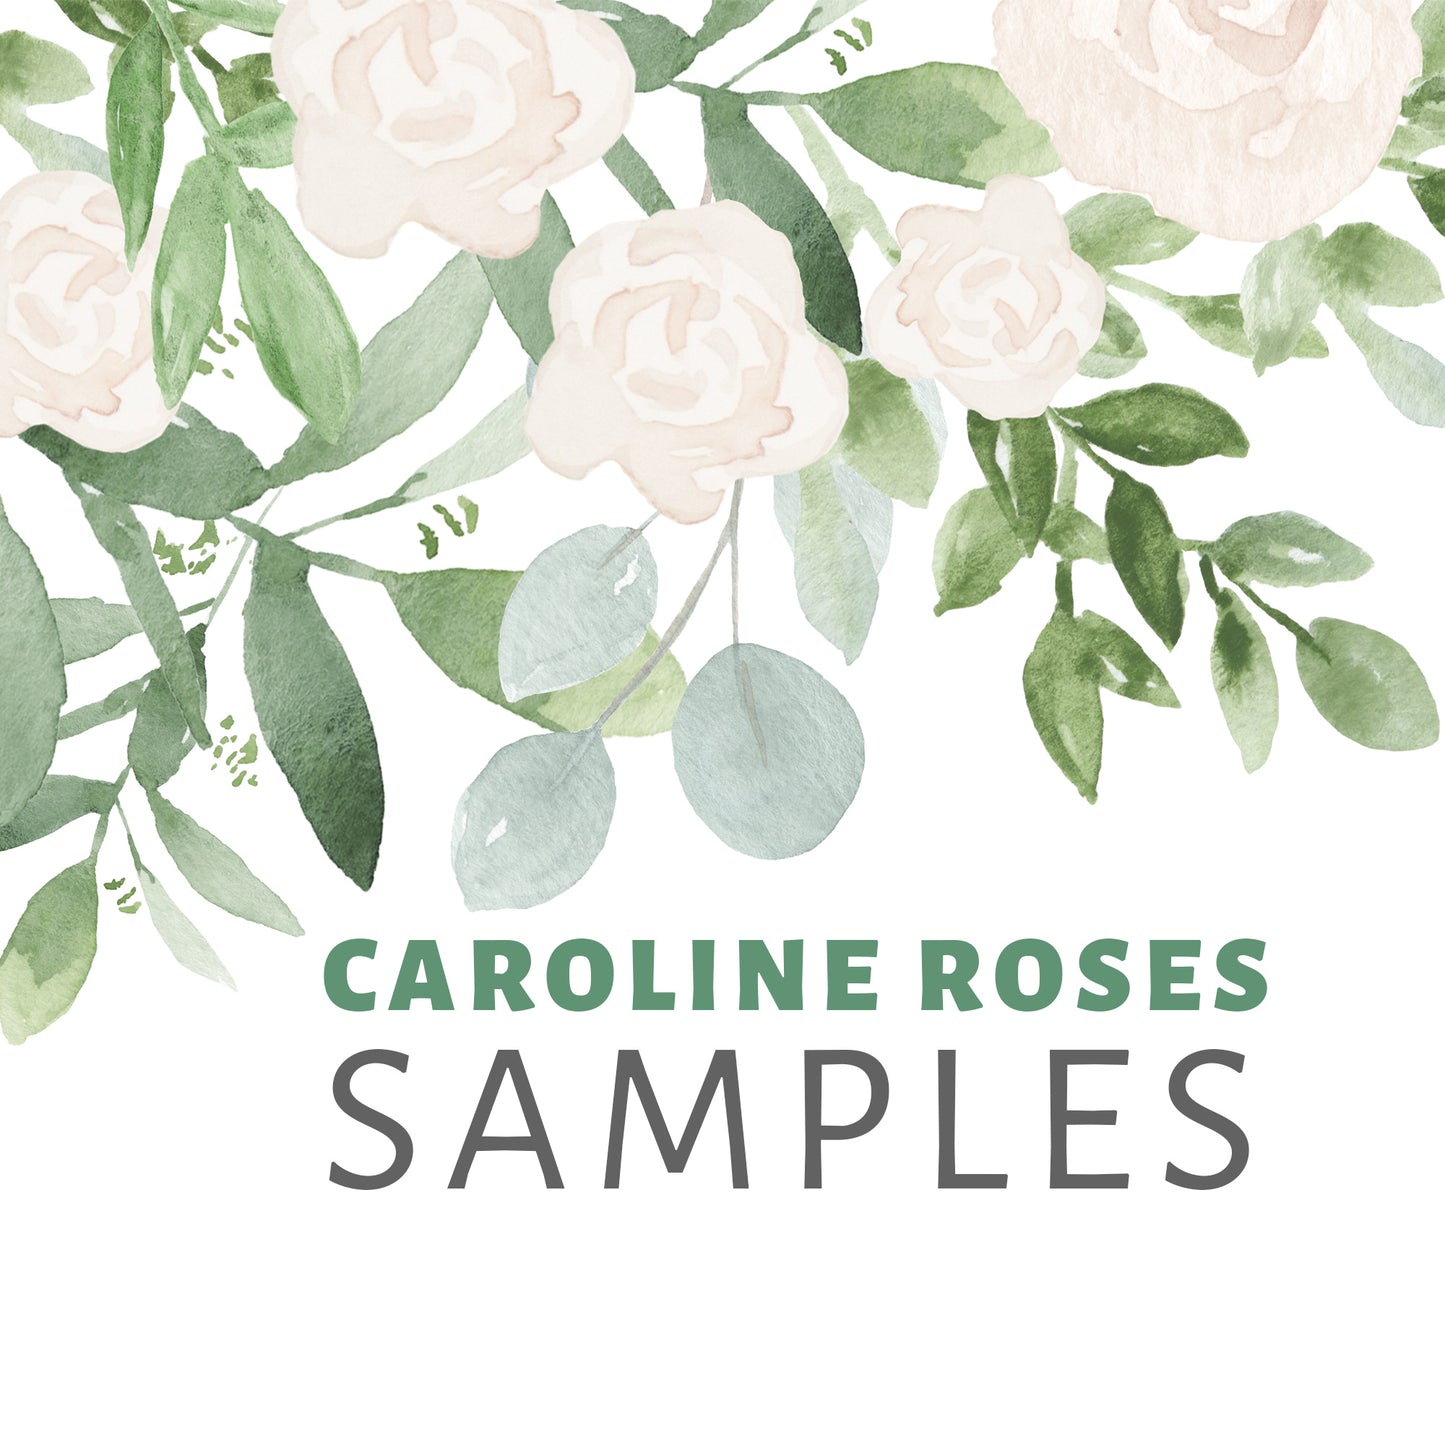
Order SAMPLES
Order SAMPLES
Click here to see all our SAMPLES
WHY SHOULD YOU ORDER SAMPLES FIRST:
1) To make sure the color of the print matches with your existing décor in the lightning of your space. Never trust your monitor, every screen is calibrated differently and it varies how they show colors.
2) To test your application skills and touch the materials before committing to a big purchase.I offer SAMPLES for every floral design and they are super affordable!
WHAT'S INCLUDED IN YOUR ORDER
WHAT'S INCLUDED IN YOUR ORDER
• WALL DECAL BORDER in the size and media selected when purchased. Depending on which size you select, you will receive more than one panel that when applied it will look seamless on the wall.
• This Border Decal will be ready to apply to the wall and it comes with transfer tape for easy installation.
• Step by Step Application Instructions & application tool.
• Test Decals (to practice with before installing the big piece)
Shipping & Returns
Shipping & Returns
Sales are Final. No Returns. All our Products are Made-to-Order. Nothing is in stock.
PROCESSING & SHIPPING: Processing times for wall decals can vary depending on stock and season. Usually, you can expect 7-14 days processing. We ship UPS and USPS. International destinations might be subject to VAT and Custom Duty Government Tax.
CANCELLATIONS: You can cancel or modify your order within one hour after placing your order. Send and email to americandecals@gmail.com if you need to cancel or update your order within 60 minutes from placing your order. If you need to cancel or modify your order after this period, a re-stocking fee will apply.
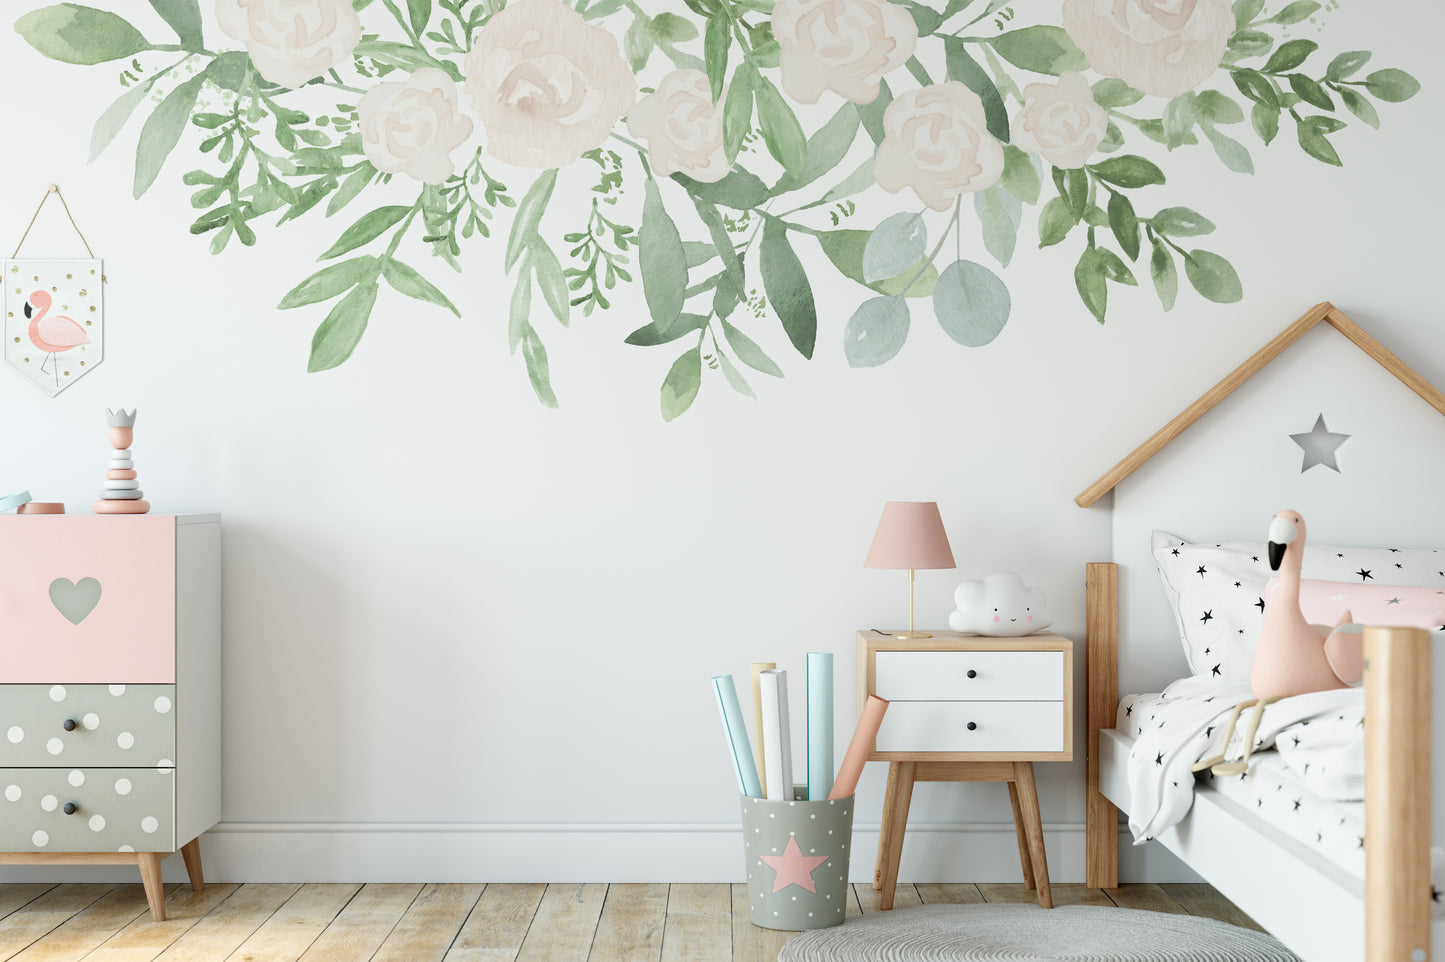
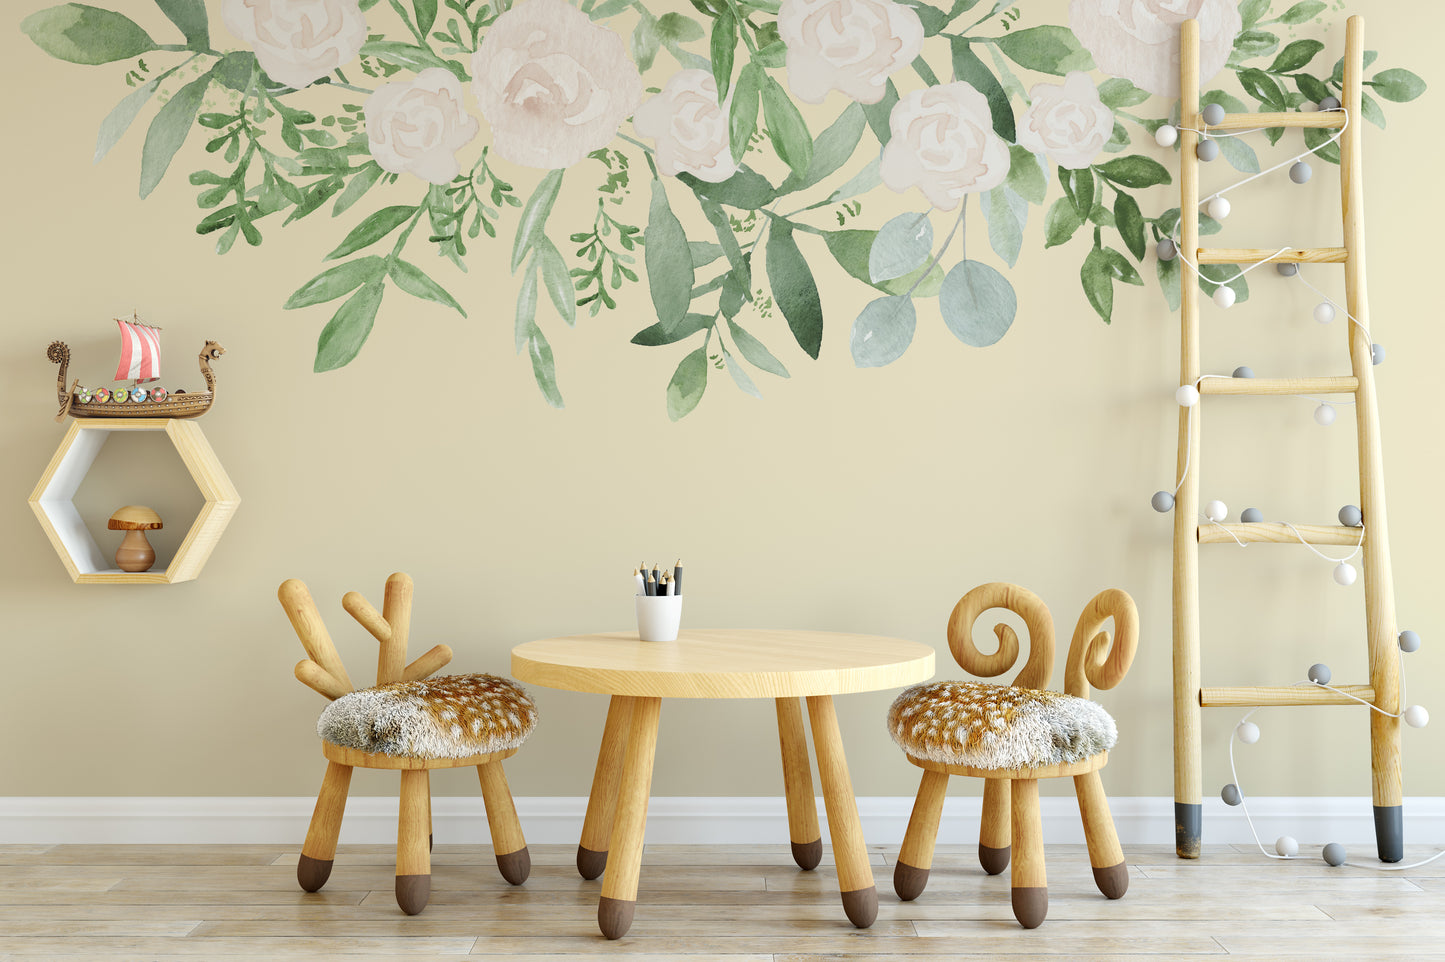
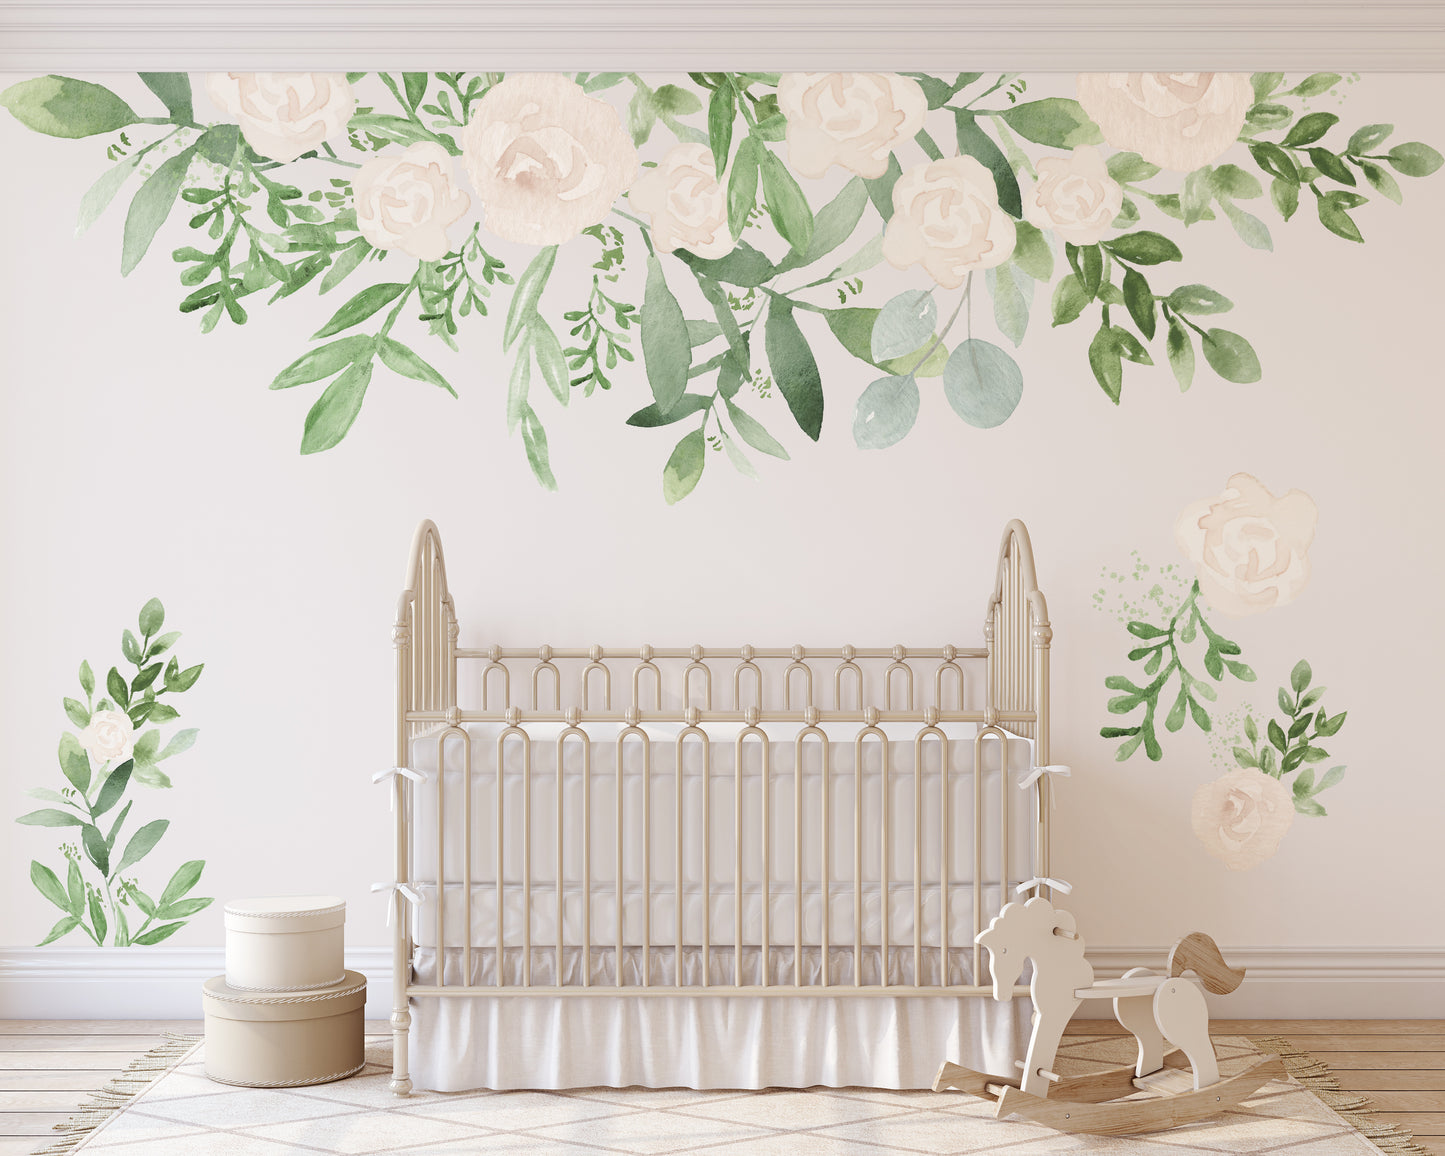
Wall Décor Nursery Wall Decals Girls Wall Mural Floral Décor. CAROLINE Greenery Removable Wall Decals Nursery Décor White ROSES Flowers Blooms Peonies Watercolor Green Fern Eucalyptus Girls Baby
Wall Decals Décor Nursery Watercolor Flowers CAROLINE White ROSES Girls Wall Mural Floral Neutral Nursery. This design will look great on very light walls (white, light grey, light green, light yellow, taupe, light blue)
Watercolor Hand painted Flowers made into a wall decal mural arrangement.
*** There are 3 bouquets of greenery and white roses that are not included on this listing, but could be added to your order adding the following listing to your shopping cart
Perfect for Girl’s Nursery Baby room. Boho Chic Style, sprays of greenery adorned with a few White Peonies.
Sizes offered: From 52" wide up to 156" wide.
This design will not cover your entire wall as a wall paper, it is an arrangement of flowers and you can see the wall color all around the floral cluster. Flowers will not come separate, they are already arranged as seen on the images. Most sizes come in several panels.
Wall graphics must be applied to a clean, smooth (slight textured is acceptable), dry and non-porous surface in a timely manner, preferably within 4 weeks of receiving your shipment. Freshly applied paint should be allowed to cure for a minimum of four full weeks before wall graphic application. Your decals will peel off the wall if the paint is still not cured (due to the out gassing) or if the paint is not compatible with VINYL decals.
****AMERICAN DECALS SHOP will not be held responsible if your wall paint is not compatible with our wallpaper and results in adhesive failure. We won’t issue refunds or replace wallpaper due to poor installation. Preparing your wall is part of the installation process and safety procedures should be followed at all times to prevent wallpaper panels falling down from the wall.
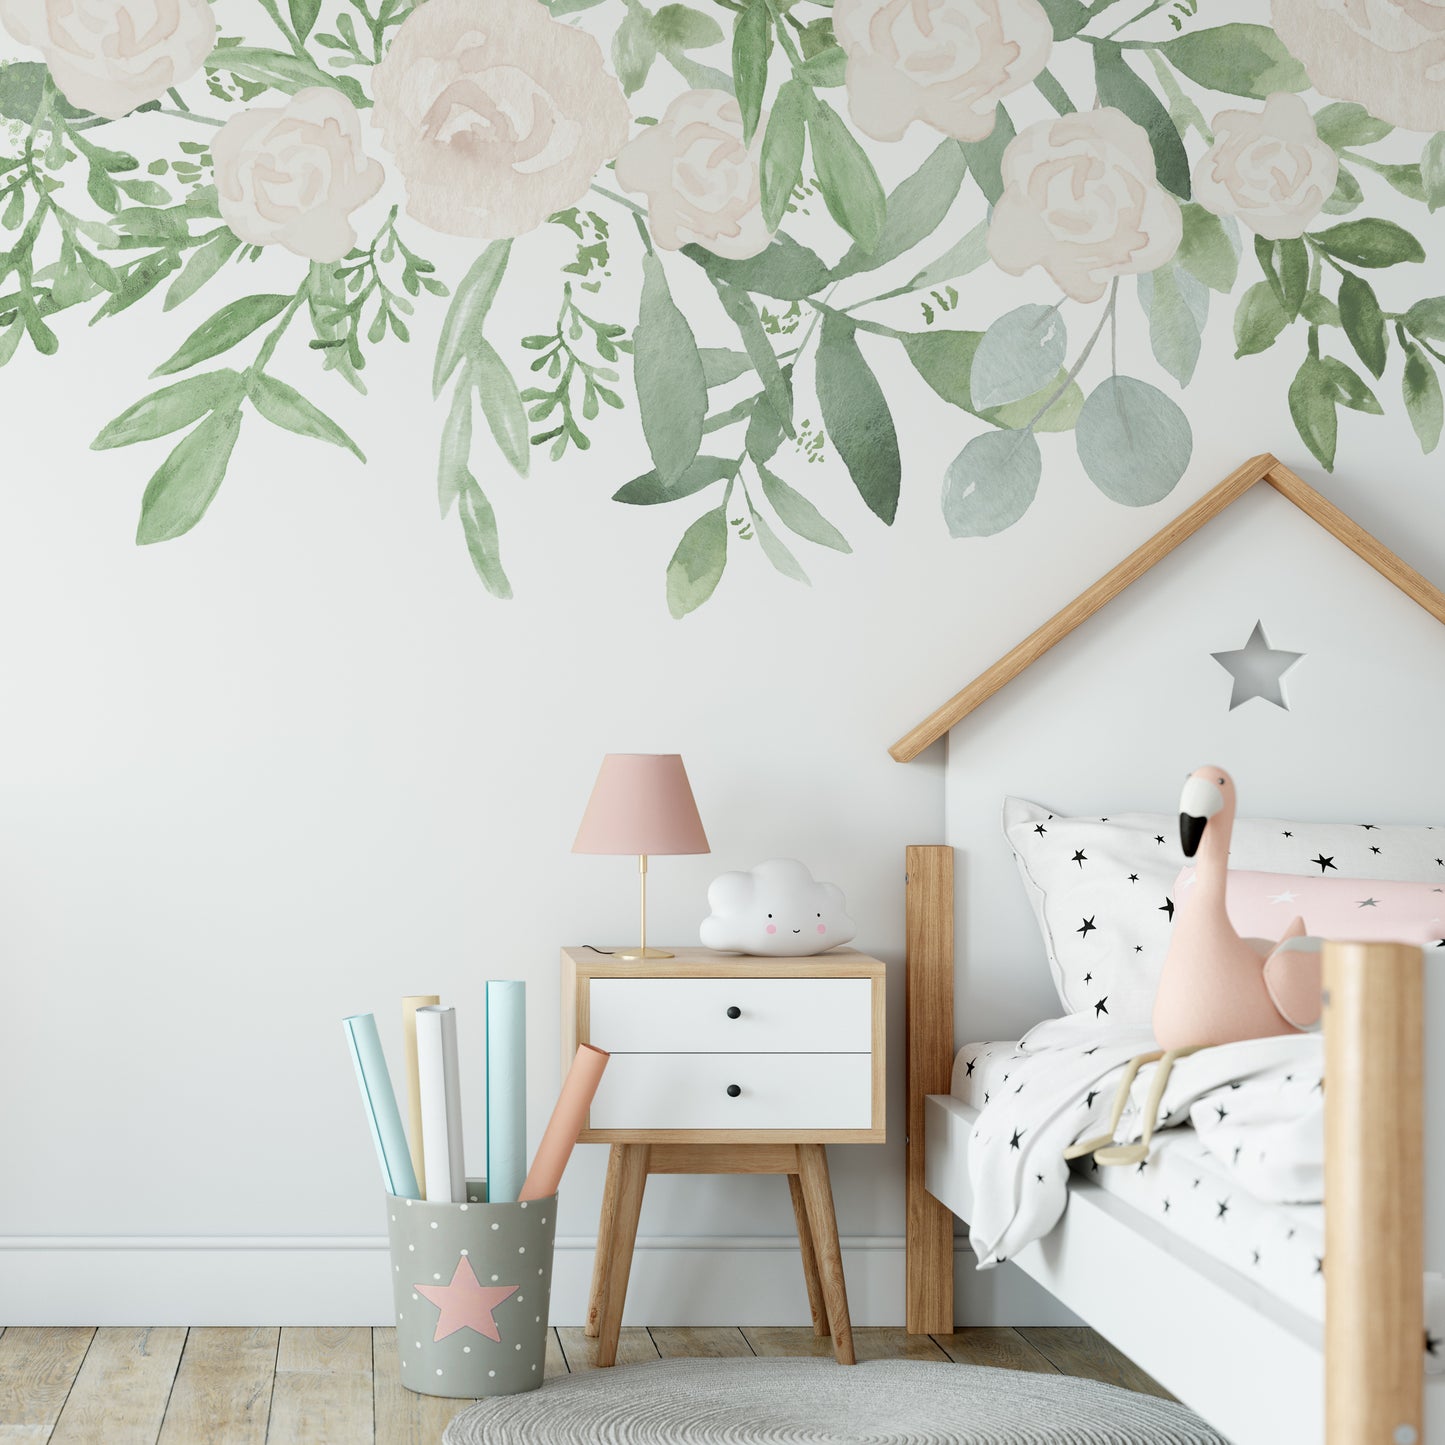
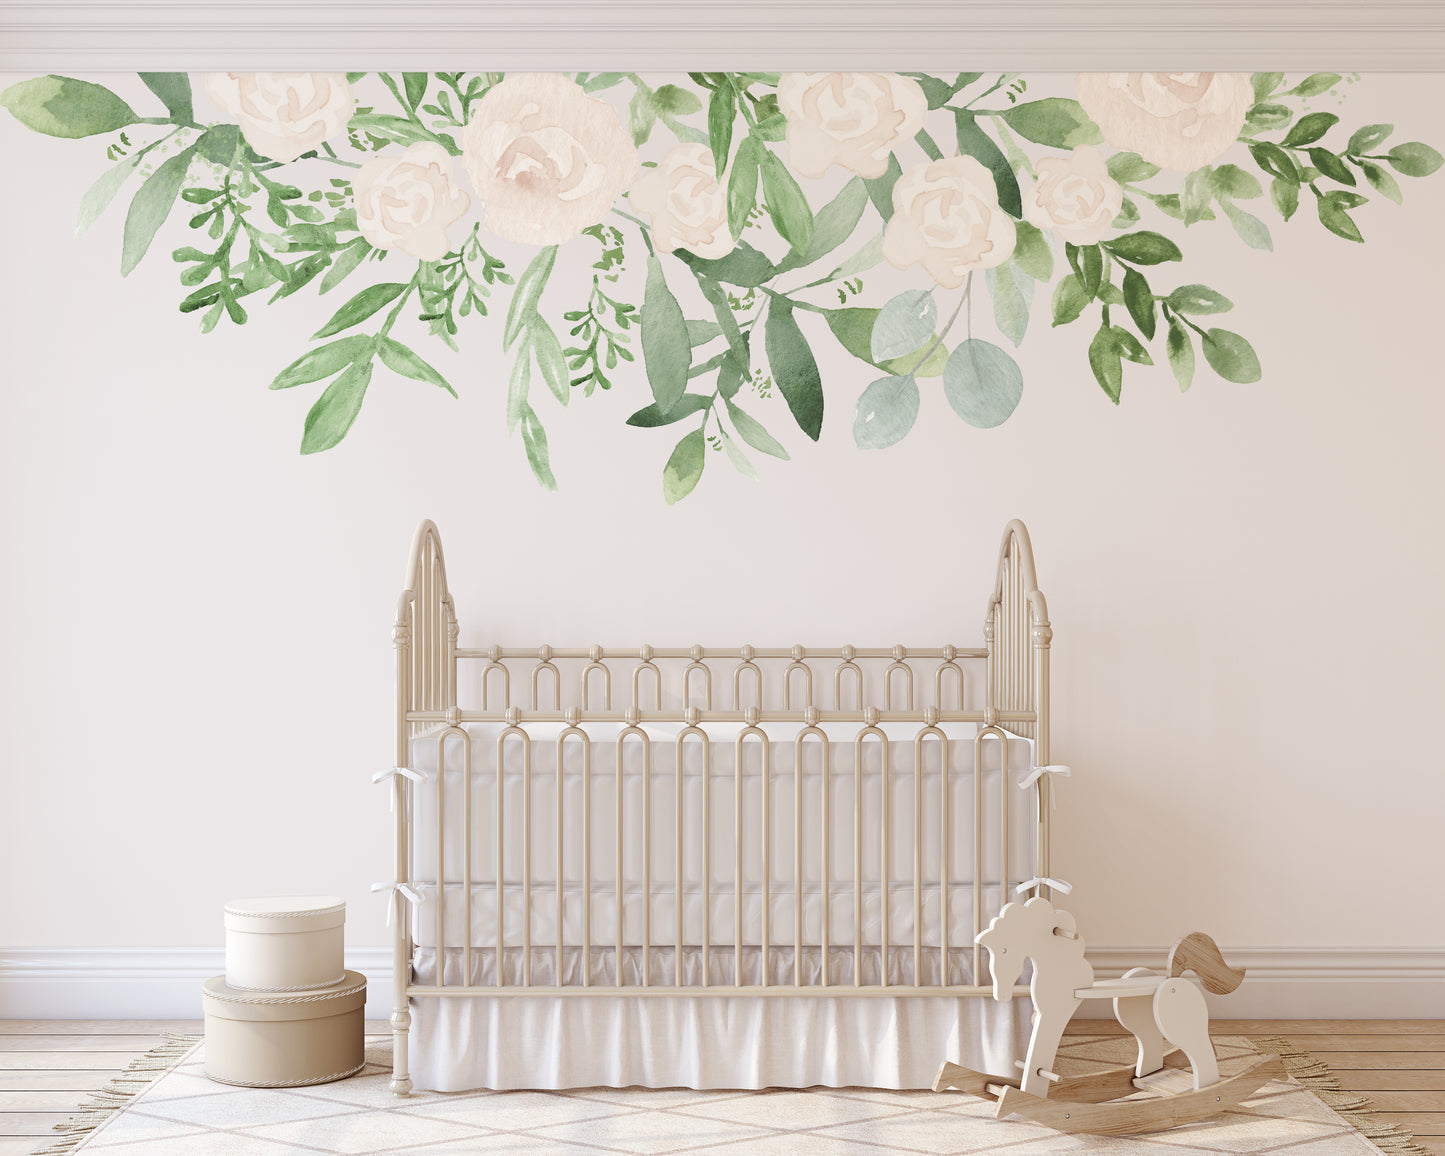
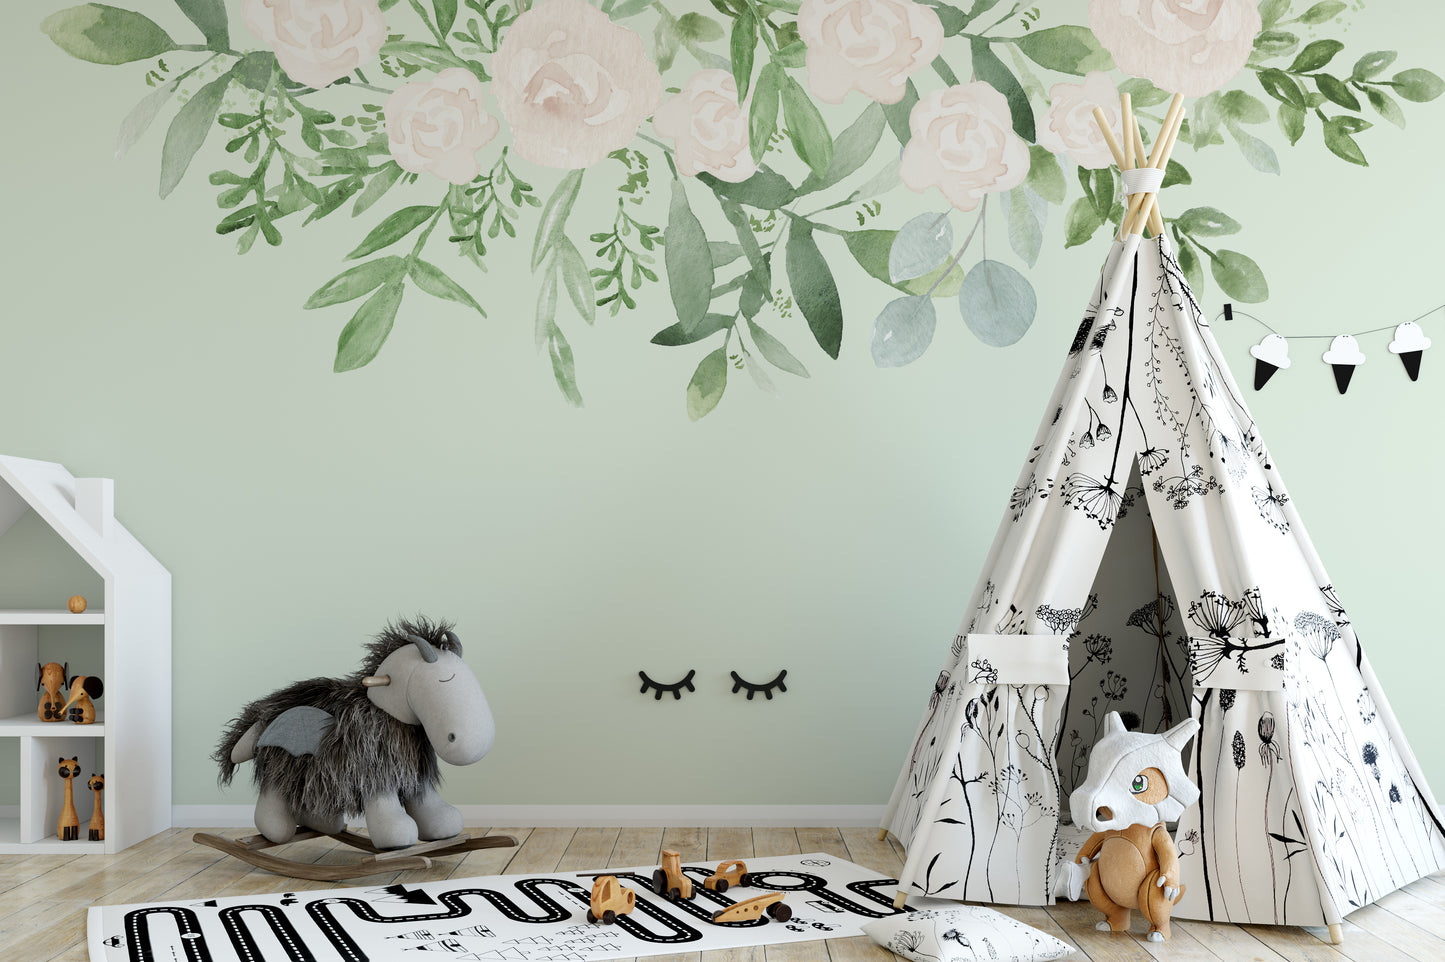
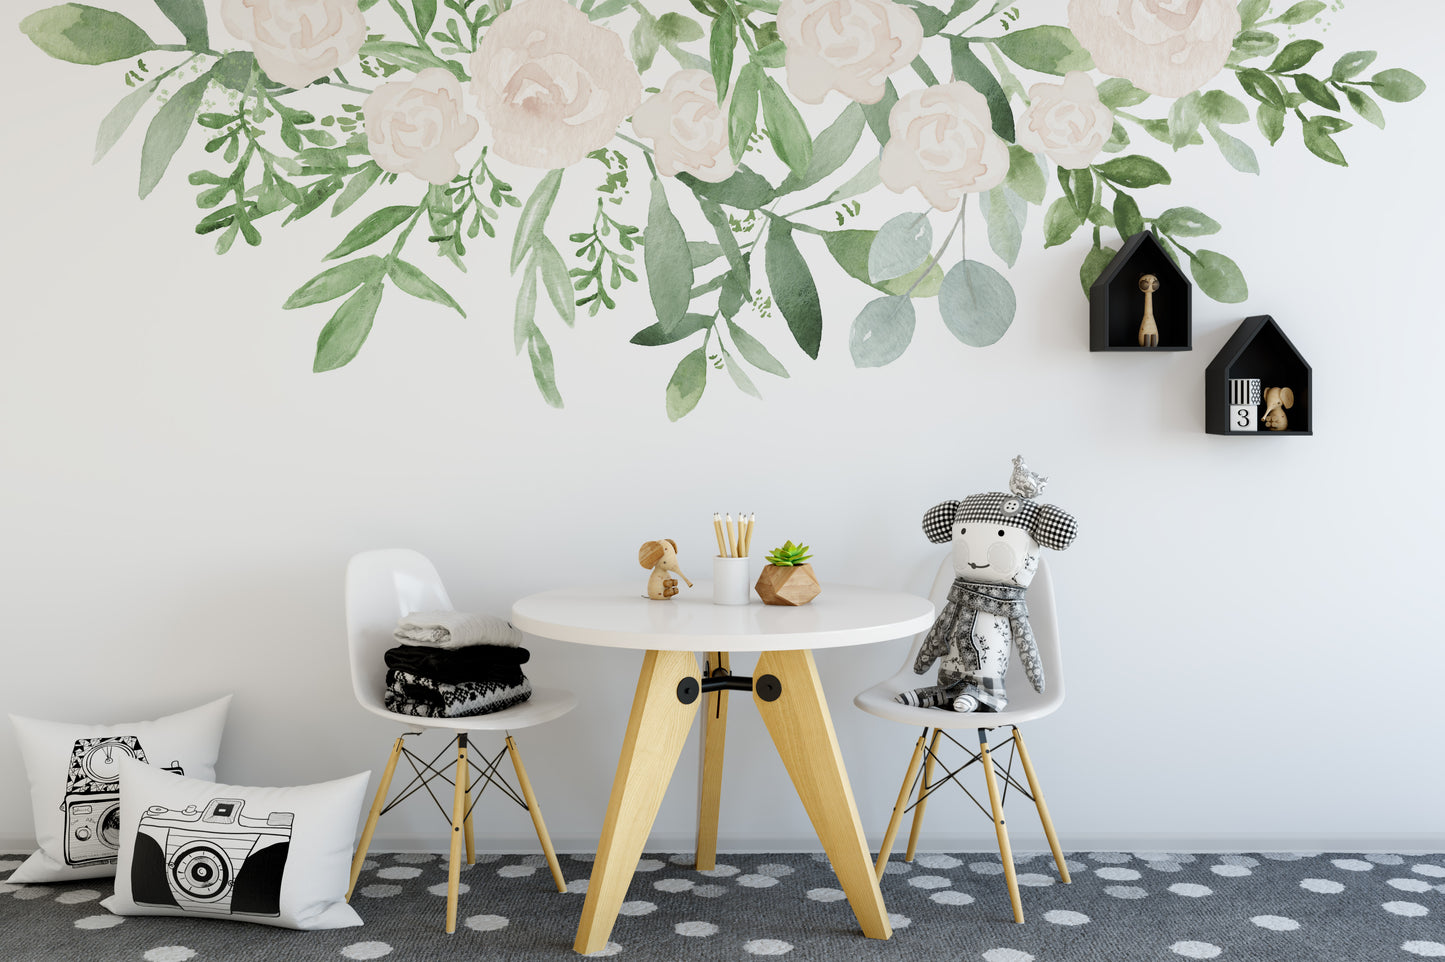
Made in the Midwest
We design, develop and manufacture our wallpaper in Indiana.
Please read below HOW to apply our WALLPAPER in 3 easy steps.
Wall Decal Border INSTALLATION
-
PREPARE AND PLAN YOUR INSTALLATION
MUST KNOW BASICS & TIPS
1) You will need a clean wall. Cleaning your wall is super important. Use a clean cloth and a solution of 1 part alcohol 2 parts water to wipe down the wall.
2) You will also need a helper (an extra pair of hands to hold onto things while you work on the decals)
Our decals come with 3 layers: on the bottom there is the “backing paper” which is touching the adhesive of the decal, and it acts like a release wax paper. The top layer is the “transfer tape” and it is see-through. In the very middle is the precious decal.Plan & Setup: Lay down each panel on the floor. Make sure the upper part is the one that goes on to the top of the wall. Your panels are rolled up and might develop creases and air pockets during transit. DO NOT try to remove the air bubbles with the squeegee, those wavy shapes will disappear when the wall decal is released from the backing paper.
Follow the Sequence: Each Panel will have a number in the back (handwritten), just follow the sequence for the correct order. If you have received 3 or more panels -and I am going to throw you a curb ball here- don’t start with panel number one, START WITH THE MIDDLE PANEL. For example, if you have 3 panels, the middle panel will be number 2. If you received 4 panels, start with either panel #2 or #3, those are considered in the middle.
-
START INSTALLATION
Take a deep breath: START WITH THE MIDDLE/s PANEL , secure it with painters’ tape and then do the same with the rest of the panels. Make the sides of each panel touch to each other so the graphic will look seamless, no gap between panels. If you start on the side (panel 1) your graphic will not be leveled straight, or panels won’t touch each other. I promise, even if you think you can, you won’t be able to make it straight. It will be a total disaster. Just follow my lead, you will be glad you did. Under any circumstances, DO NOT CUT any part of the decal at this time, if you have a graphic that is wall-to-wall, you will trim the sides to fit at the end, as the last step of the installation.
Place all of them on the wall with painters’ tape starting with the middle panel, and make sure you like where they are positioned. If you are happy with it, leave the middle one and remove the other two panels for now. We are getting ready to stick this sticky giant to the wall.STICK YOUR PANELS TO THE WALL USING THE HINGE METHOD.
You may need four hands for the next two steps, so unless you are some kind of Hindu God, please remember to con a non-cousin creature or loved one into helping.
-
STICK IT TO THE WALL
1. CREATE THE HINGE: Grab Painters tape and stick a horizontal line across the middle panel on the wall, make 2 lines of tape to make sure the panel is secured into place and won’t move during this process.
2. REMOVE BACKING PAPER: Lift the upper part of the panel and pull release the backing paper until you reach the horizontal line of painter’s tape. While holding the transfer tape that also has the graphic attached to it, grab sissors and cut a straight line across the backing paper, then discard the white waxy thing.
3. STICK DECAL TO WALL: Be careful not to let the adhesive side of the decal fold on itself. Smooth the decal onto the wall starting bottom to top with the squeegee from center to sides. Now you can get rid of the blue hinge painter’s tape, remove the rest of the backing paper and smooth down the decal onto the wall.
4. REMOVE TRANSFER TAPE: Slowly pull up an edge of the transfer tape and peel away at a 45-degree angle along the face of the decal. If any of the decal sticks to the clear tape, don’t worry. Stop pulling and re-press the decal and then continue to slowly peel away.
5. FINISH THE INSTALL: Now bring on the other panels, either side, doesn’t matter which one. Place it next to the one you installed making sure it is touching the sides and the graphic is seamless. Repeat the previous 4 steps until finished. If you have a wall-to-wall graphic, trim the sides to fit your wall perfectly. Use a new blade on your knife.


